 Peter Founder
Facebook × Zeydoo Basic Playbook, Part 1: Four Setup Essentials

Last week I wrote “Six Years with Zeydoo: A Christmas Gift from an Old Friend”, and it unexpectedly “summoned” my AM. Have a look at what she had to say about the article.

Today we continue with topics around Zeydoo and formally get into the basic playbook for Facebook × Zeydoo.
In the last few months this approach has caught fire again, mainly because of test threads that some affiliates abroad shared on the affLIFT forum, which drew quite a few affiliates to follow along and test for themselves. Just as everyone was fretting about finding a new channel for Fix CPL offers, a new tutorial arrived.
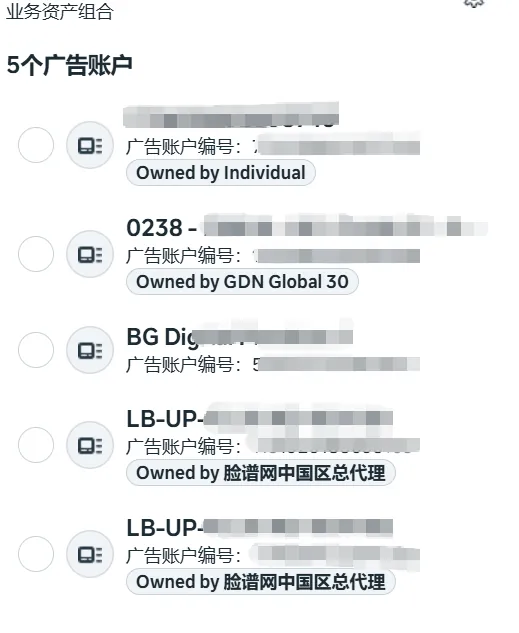
1: Preparing Facebook accounts
Most people open accounts through an agency, for example the common “two-unlimited” and “three-unlimited” accounts (agency accounts sold as unlimited on two or three dimensions). But if you already have an account in hand that can bind a payment method normally and that you can actually operate, that’s actually the option with the lowest cost of trial and error. No need to agonize over whether the account source is good or bad; run one round first, because getting a feel for the complete process matters more. For example, my own BM has several accounts bound to it, including a personal account, and they can be used for testing just the same.
2: Choosing a tracker
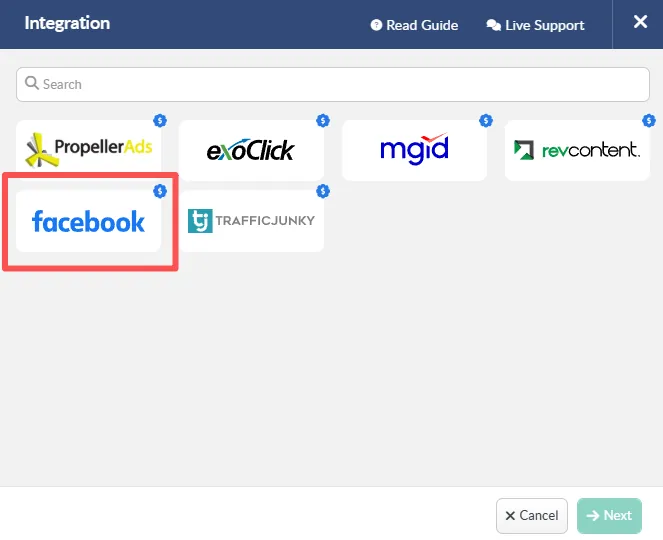
Most trackers on the market will actually do the job; the main differences are features and cost. If you’re using BeMob, you have to pay extra to use Integrations → Traffic Source and connect the Facebook API.
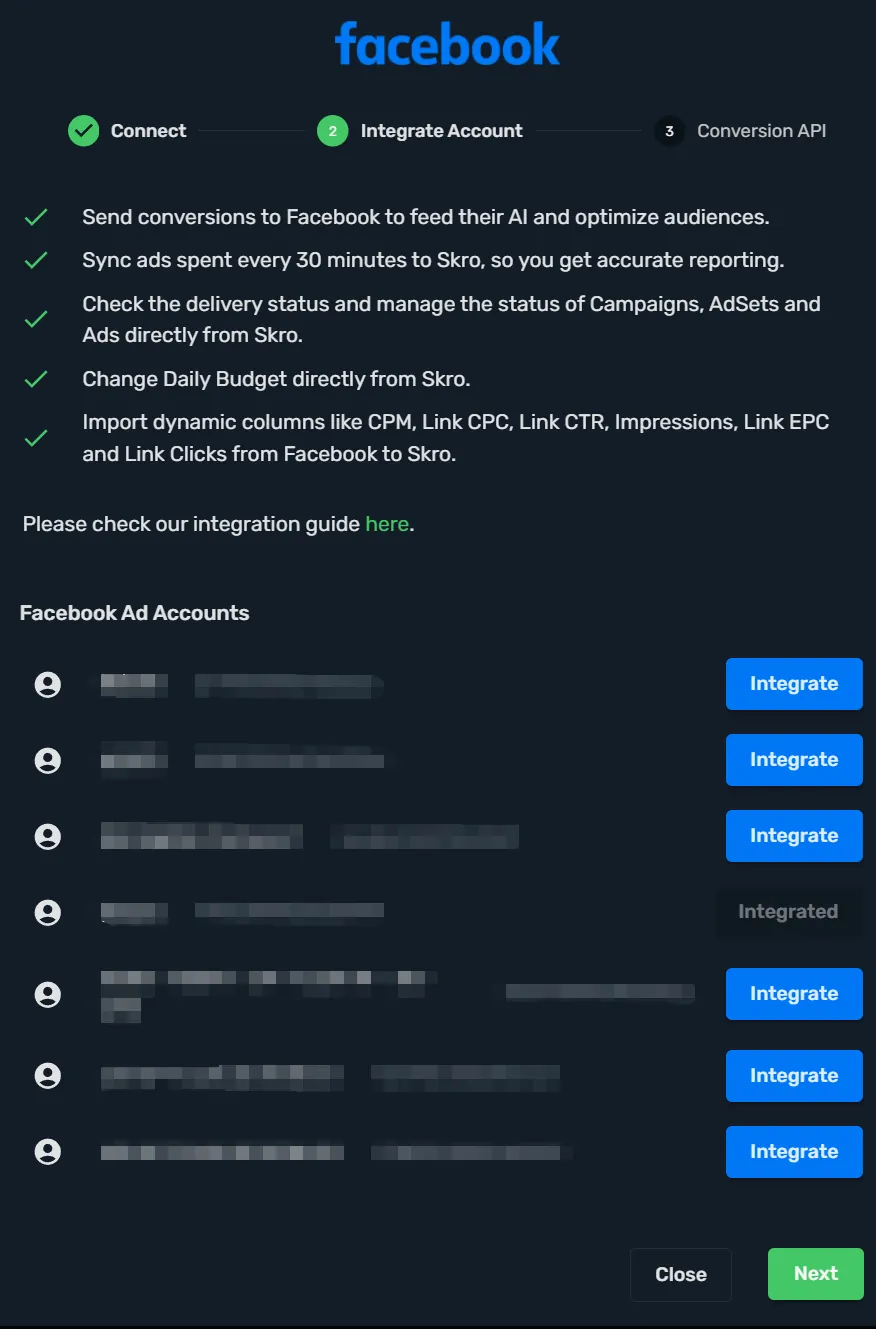
If you don’t want to add cost at this stage, Skro Tracker is what more people choose; the value for money is relatively better, and it also matches the setup used in the tutorial. I suggest keeping variables to a minimum early on, and only once the test is running smoothly, gradually adjusting to the setup that suits you best.
3: Warming up the Facebook Page
If your Page is newly created, or has never run ads before, I recommend warming it up before the official launch.
The idea is simple: first fill in the Page information completely and publish a few basic posts. Then run small-budget ads to “heat it up”.
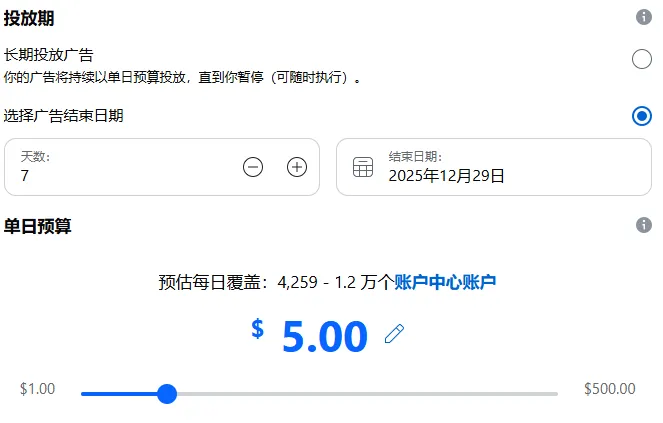
The common practice is to spend around $5 a day for 1-2 weeks. The main goal is to pick up some basic followers and engagement so the Page completes its “cold start”.
4: Tracking setup + Rules
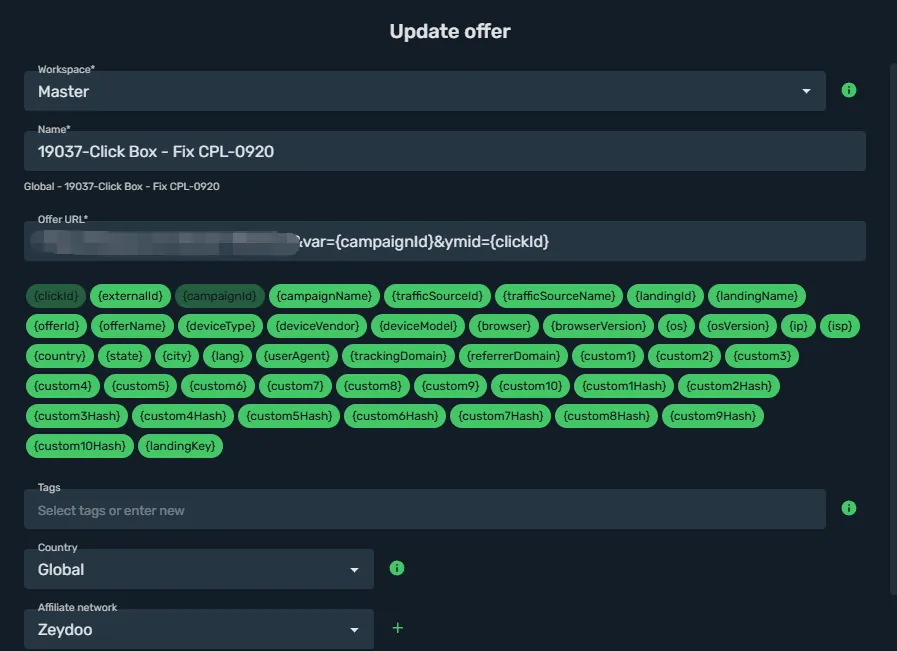
This part is critical. You need to make sure the parameters in the Zeydoo Offer URL and the postback are all correct. Beyond that, the Flow setup matters just as much: it directly affects your account’s stability, and it’s one of the core factors that decide how long an account can keep running.
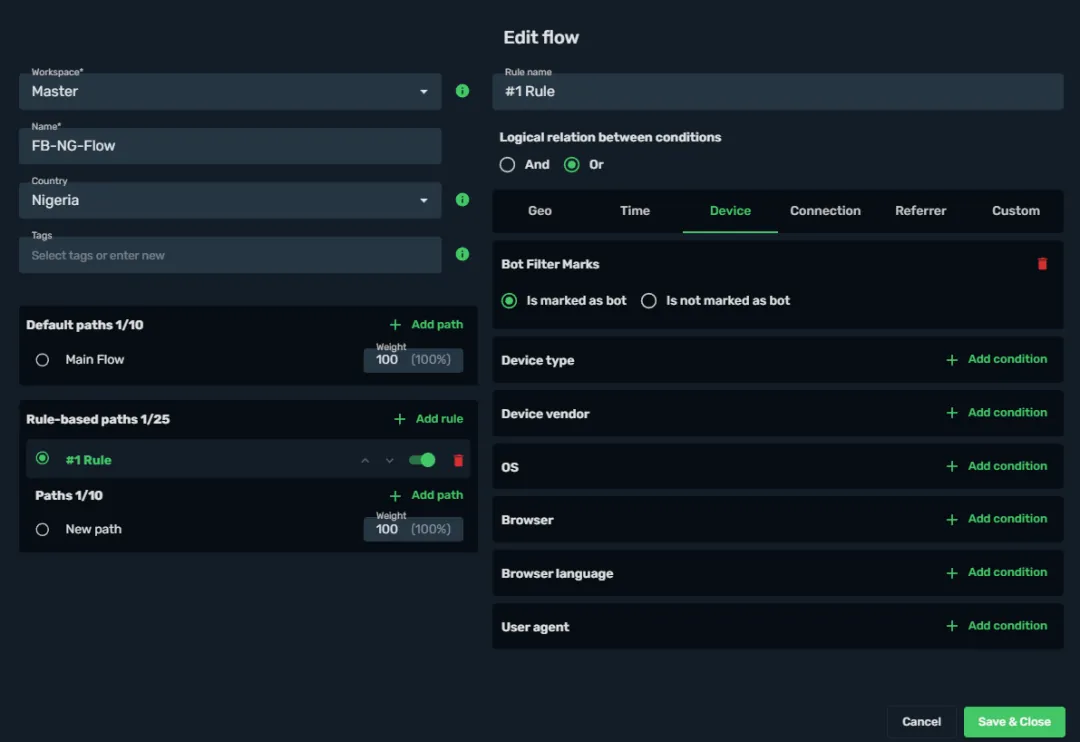
Here the Rule feature inside the tracker is mainly used to implement basic Cloaking, for example routing traffic that doesn’t meet the conditions, by GEO, OS, ISP, bot behavior and so on, to your White Page. (Note: using Cloaking to hide the real landing page from platform review violates Facebook’s advertising policies and can get accounts banned; this only records what was done at the time and is not a recommendation to copy it.)
Those are the 4 basic setup points shared in this post. The next post will continue with more hands-on basics and break down the whole Facebook × Zeydoo scaling logic more clearly.
New articles and quick notes from Peter.